
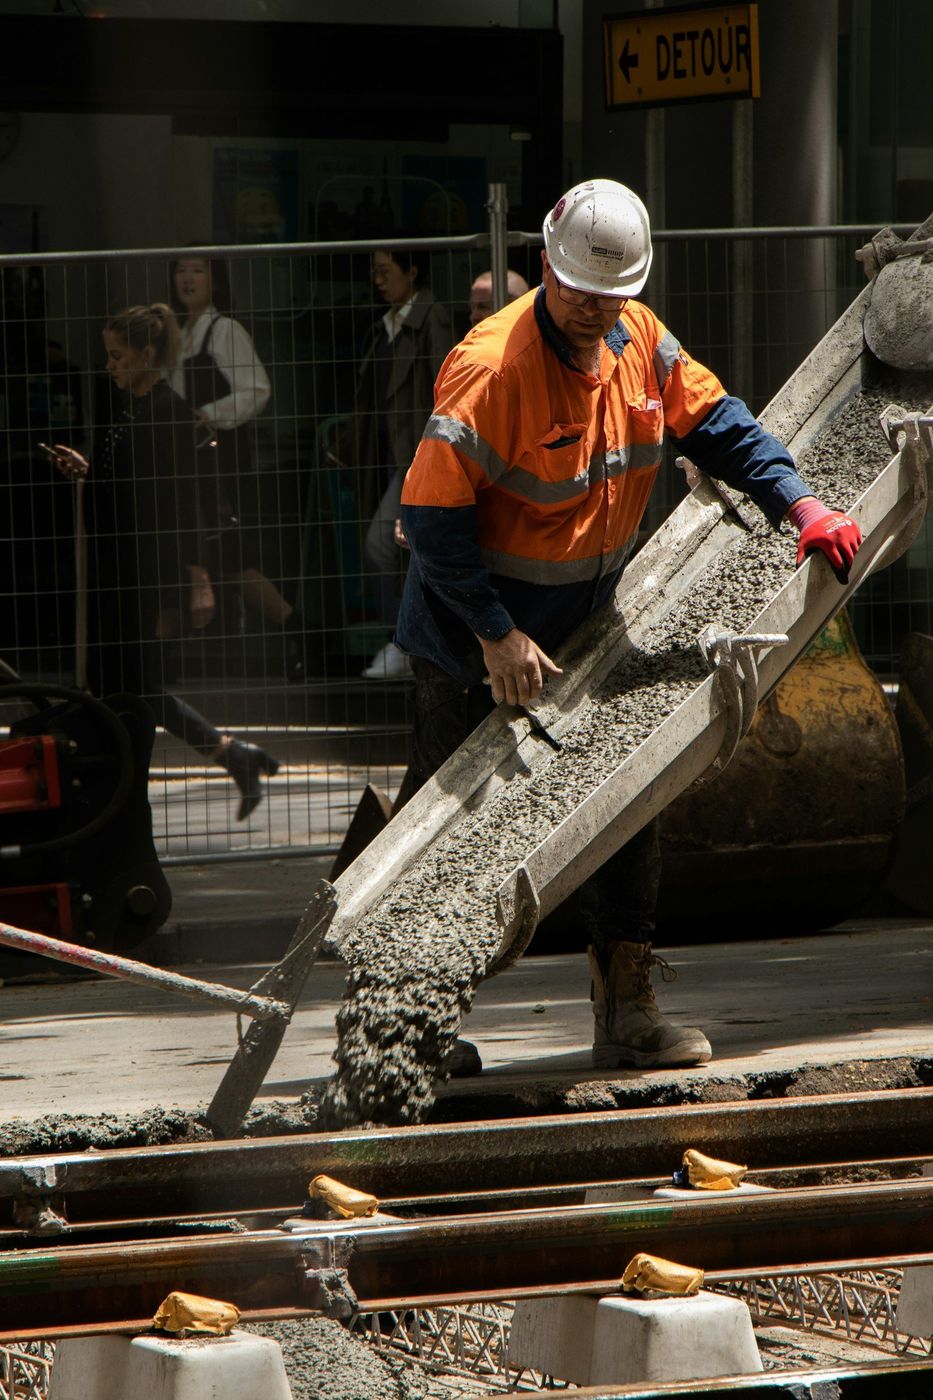
A mower goes in and out roughly two hundred times a summer. Build the pad for that, not for the brochure photo.
Nobody admires a shed pad. You use it. Wet boots on it in April, a mower rolled across it twice a week from May to September, fuel cans and a wheelbarrow parked in the corner, a snowblower dragged out at six in the morning in a blizzard. That's the job description, and it explains why the pads that fail rarely fail in the middle. They fail at the doorway, where every wheel crosses and every drop of runoff collects.
We pour these all over Lone Tree. Larger lots out toward Montecito and Carriage Club have room for real outbuildings and workshops. Tighter Fairways yards get the compact storage buildings tucked along a fence. Different sizes, same set of details worth getting right.
Watch someone use a shed for a week and the pattern jumps out. Everything happens in a four-foot strip at the front. Doors swing over it, wheels pivot on it, and whoever's carrying something heavy sets it down there first. That strip has to be flat, textured enough for wet soles, and sitting a little proud of the dirt so mud can't wash across.
It also needs a landing. A pad stopping right at the shed wall means stepping from concrete onto grass, which is a rut by the second summer and a mud pit by the third. We run the slab three or four feet past the doors and pitch that apron harder than the rest. Ramp it where a mower crosses the threshold, and the ramp gets broomed rougher than everything else.
Inside the footprint, level beats texture. A workbench wants a floor that isn't crowned, and shelving wants the same, so we hold flatness tighter under the building than out on the apron.
Wind is the reason for anchor bolts. A shed is a big light box, and a gust that gets under an open door tries to pick it up. Bolts set into wet concrete on the plate layout hold far better than wedge anchors drilled later, so we want the plan before pour day. Bolt where the plate actually lands. Not near it.
Then the freezing question. Nothing warm sits above an unheated pad, so the dirt below acts like open yard: full-depth freeze, and movement with it. On a light storage shed that's fine. The slab rides up and back down as one piece and nobody notices a fraction of an inch. For a workshop with a finished interior, utilities coming in, or a structure attached to something else, we switch to frost-depth footings, because a heated building on a floating slab is where doors quit closing.
Send the model and the door layout. We'll size the slab and the apron off the real drawings.
| Approach | Right for | Trade-off |
|---|---|---|
| Floating slab with a thickened edge | Storage sheds, garden buildings, anything unheated and simple | It moves seasonally with the ground. Fine for a shed, wrong for a finished space. |
| Slab over frost-depth footings | Workshops, heated outbuildings, anything with plumbing or a finished interior | More excavation and more concrete, and the schedule stretches by a few days |
| Gravel bed under timber skids | Small kits, temporary placement, budget jobs | No hard floor, no anchor points worth trusting, and the rock migrates every year |
Here's the failure we get called about most: water running under the door during a hard afternoon storm. Almost always grade, not the slab. The yard around the shed sits level with or above the concrete, so a downpour has nowhere to go but across it. The fix is dropping surrounding grade a couple inches below the pad and giving water a path away from the building, sometimes with a shallow swale uphill. Dirt work, and cheaper than anything else on the job.
Scheduling is easy. Small pads go in fast, so we slot them between larger jobs from April through October. Late summer and early fall are excellent, with dry ground and overnight temperatures that haven't turned yet. Winter pads are doable using warmed batch water, a non-chloride accelerator, and blankets left in place for days, though the subgrade has to be thawed. If the shed arrives in March, order the pad early so the concrete gains strength before a delivery truck shows up.
Still unsure about something?
Call the crew at (303) 569-4046 and we will talk it through.
Get a free, no-obligation estimate from a crew that knows Colorado soil, Colorado weather, and how to finish concrete that lasts.
Accessibility
Adjust the site to fit how you read and browse. Your choices are saved on this device.